The desire to live in a beautiful, organized, and structurally sound home is a universal human instinct. Our living spaces act as physical manifestations of our internal mental states, directly influencing our daily emotional stability, creative productivity, and overall peace of mind. However, a major misconception that paralyses many homeowners and renters is the belief that executing a meaningful interior upgrade requires thousands of dollars of disposable income or the recruitment of expensive professional contractors. In reality, some of the most visually stunning and emotionally rewarding home transformations are born from the world of creative do-it-yourself projects. Engaging in DIY home improvement allows you to bypass massive retail markups, reuse hidden household materials, and design a custom living environment tailored specifically to your unique functional needs and personal aesthetic preferences.
The secret to mastering budget-friendly DIY design is learning how to identify high-impact focal points within a room and addressing them with clever, structural styling choices. Instead of attempting a massive, overwhelming renovation all at once, you can systematically upgrade your home by focusing on targeted, creative projects that introduce texture, depth, and architectural interest. This comprehensive masterclass guide explores deep, highly actionable DIY projects designed to maximize your current square footage and establish an atmosphere of sophisticated luxury throughout your living space without putting any strain on your financial bank account.
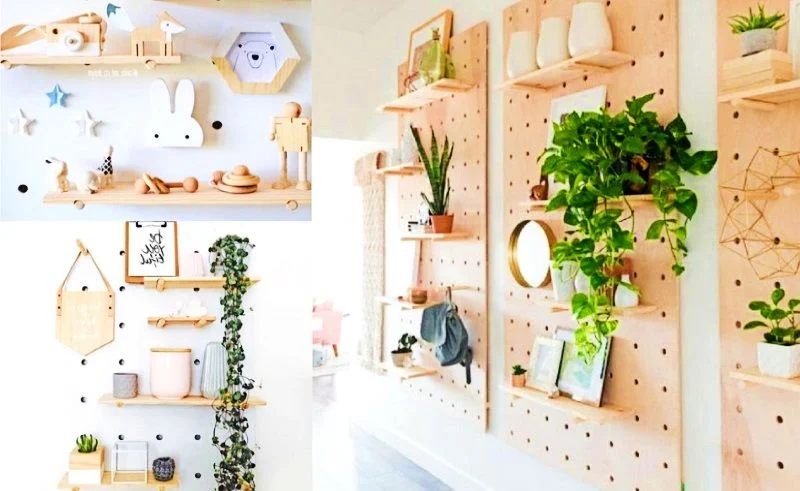
The Phenomenal Power of Architectural Accent Walls using Wood Slats
When an interior room feels flat, hollow, or devoid of character, the issue is almost always a lack of structural texture on the primary vertical planes. Painted drywall is clean, but it lacks the visual weight and premium dimension required to make a room look expensive. One of the most creative and budget-friendly ways to resolve this issue is by building a modern architectural wood slat accent wall. This project completely transforms the visual scale of a room, creating beautiful vertical shadows that make standard ceilings appear significantly taller than they actually are.
To execute this project on a strict budget, avoid buying pre-assembled commercial wood panels from luxury design boutiques. Instead, make a trip to your local hardware lumber yard and purchase raw, inexpensive pine or furring strips. Spend an afternoon sanding down the surfaces of these wood strips until they are completely smooth to the touch, and then apply a rich, high-quality wood stain such as dark walnut, espresso, or a soft weathered gray. Once dry, locate the structural wall studs behind your drywall using an affordable stud finder tool. Secure a background layer of matte black landscape fabric or paint the wall a deep charcoal tone to create an illusion of infinite depth behind your slats. Using a basic spirit level and a pneumatic brad nail gun, mount your stained wood slats vertically across the wall, leaving a precise half-inch gap between each strip. The result is a stunning, high-contrast structural masterpiece that serves as an ultra-luxury focal point for your living room or master bedroom suite.
Revitalizing Tired Flooring with Creative Hand-Stenciled Geometric Patterns
Replacing outdated, scuffed, or ugly flooring is notoriously one of the most expensive aspects of traditional home renovation, often requiring thousands of dollars for new hardwood planks, ceramic tiles, or plush carpeting. If your home features dated linoleum, worn-out vinyl tiles, or plain concrete utility floors, you can completely bypass these extreme costs by using the power of specialized floor paint and creative geometric stencils. This project requires patience and precision, but the financial savings and visual payoff are absolutely monumental, allowing you to achieve a high-end designer tile look for the mere price of a few cans of paint.
The critical foundation of this project is thorough surface preparation. You must scrub the existing floor completely clean, removing all traces of grease, wax, and dirt, followed by a light sanding to create a porous texture that allows the paint to bond permanently to the material. Apply two coats of a highly durable, heavy-duty bonding primer designed specifically for floors. Once the primer is fully cured, roll on two coats of your chosen base color, such as a crisp alabaster white or a soft, soothing light cream. Next, secure a large, high-quality geometric or Moroccan-inspired floor stencil to the ground using low-tack painter’s tape. Using a dense foam roller or a specialized stenciling brush with an incredibly small amount of contrasting paint, like charcoal gray or deep navy blue, carefully dab the color over the stencil cutouts. Move the stencil systematically across the floor, ensuring perfect alignment with your previous markings. Seal your completed work with two coats of clear, heavy-traffic polyurethane to protect your beautiful new faux-tile floor from daily foot traffic, spills, and moisture for years to come.
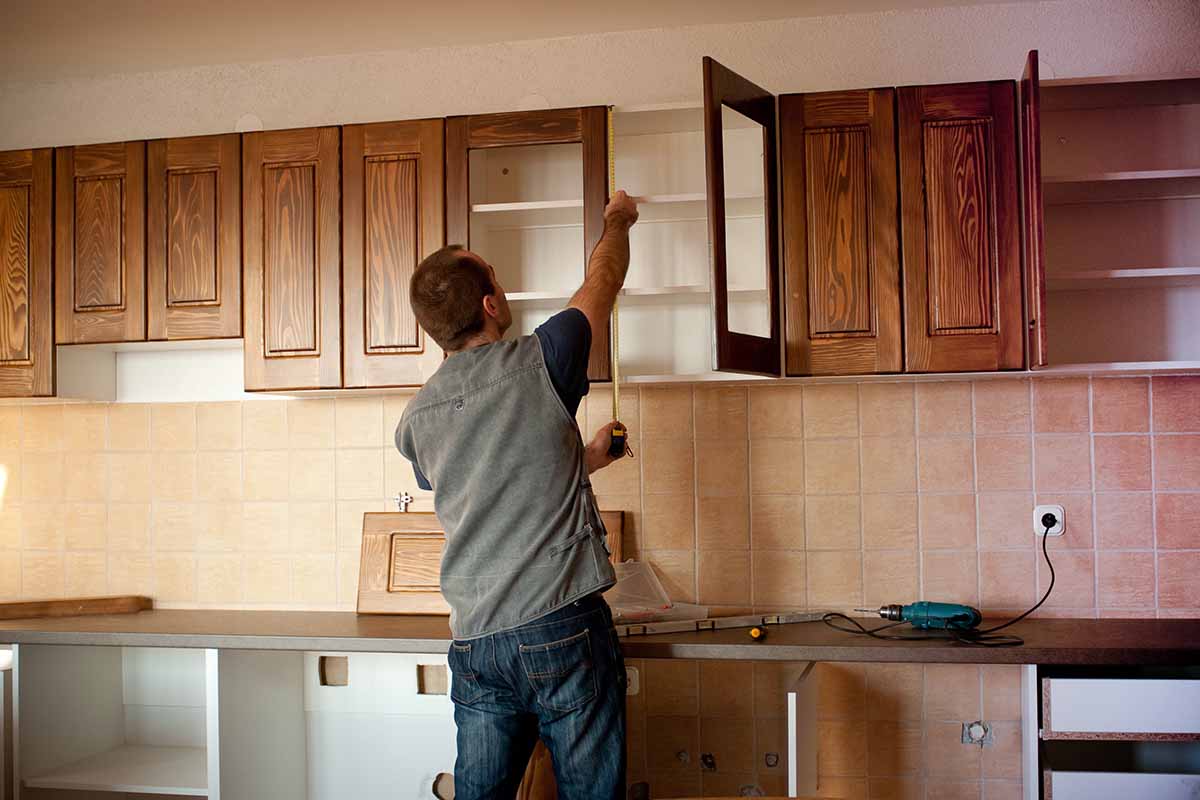
Transforming Builder-Grade Kitchen Cabinets with Custom Molding and Hardware
The kitchen is universally recognized as the financial and social heart of the residential home, meaning that an outdated kitchen can single-handedly lower the perceived value and enjoyment of your entire living space. If your kitchen currently features plain, flat-panel cabinet doors that look cheap or dated, you do not need to replace the entire cabinetry network. You can easily elevate flat doors into expensive, custom-tailored shaker-style cabinets by adding simple wooden trim molding and fresh modern hardware.
Begin by removing all the cabinet doors and drawer fronts from their hinges, labeling each piece carefully so you know exactly where it returns. Lay the doors completely flat on a work table and measure the perimeter boundaries precisely. Purchase thin, affordable strips of MDF or plywood lattice molding from your local hardware store, and cut them down at perfect ninety-degree angles using a budget-friendly hand miter saw box. Apply a strong, high-tack construction wood glue to the back of the molding strips and press them flat along the outer edges of your cabinet doors, securing them with a few shallow brad nails. Fill any tiny gaps or seam lines with paintable wood filler, and sand the entire door until the transition lines are completely invisible. Apply a durable, semi-gloss cabinet paint in a trendy, sophisticated tone like muted sage green, deep navy, or warm charcoal gray. Finally, replace old, cheap plastic handles with sleek, modern bar pulls crafted from brushed brass or matte black iron. This strategic budget transformation results in a tailored, custom-built culinary space that looks as though it was designed by a high-end luxury studio.